Setting up a printer for the first time can feel overwhelming — you've got cables, installation discs, wireless passwords, and a dozen blinking lights to deal with. But the good news is that modern printers are designed to be user-friendly, and most setups take under 15 minutes once you know the steps. This guide covers everything you need, whether you're connecting via USB or over WiFi.
What You'll Need Before You Start
Before you begin, gather the following:
- Your printer and its power cable
- The USB cable (if not using wireless)
- Your WiFi network name (SSID) and password (for wireless setup)
- A computer or phone to download drivers
- Plain A4 or Letter-size paper for the test print
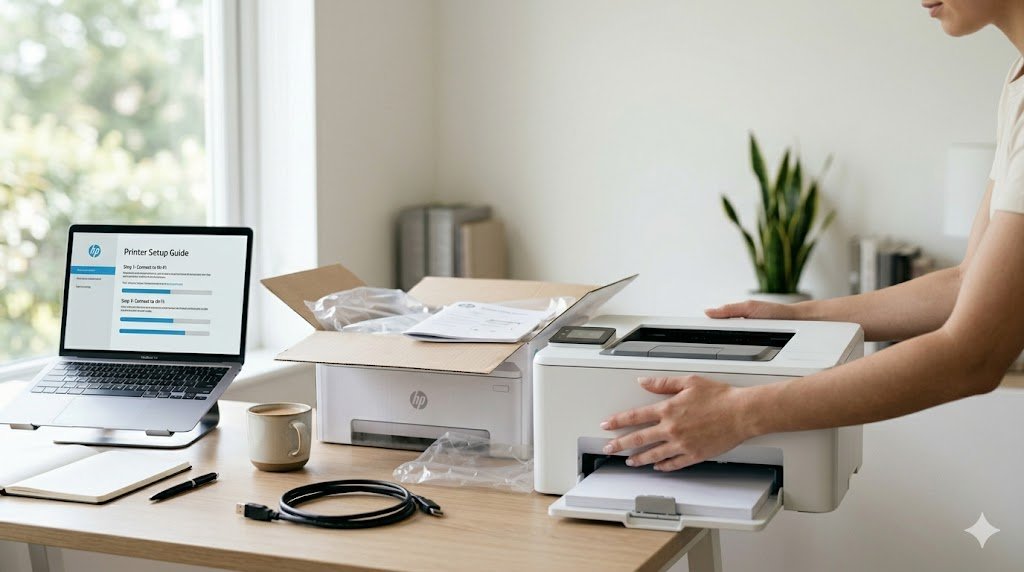
Step 1: Unbox and Inspect the Printer
Remove all packing tape and foam inserts from inside and outside the printer. Many first-time users miss tape inside the paper tray or over the ink cartridge slot. Open every door and panel and look carefully for orange or pink protective tabs — these must be removed before the printer can work properly.
Place the printer on a flat, stable surface near a power outlet. Make sure there's enough clearance around it for paper trays to open fully and for adequate airflow to prevent overheating.
Step 2: Install the Ink Cartridges or Toner
Most printers come with starter ink cartridges or a toner cartridge in the box. Open the cartridge access door (your printer manual will show exactly where this is) and follow the instructions:
- For inkjet printers, remove the orange protective cap from each cartridge before inserting
- Slide cartridges into their color-coded slots until they click into place
- For laser printers, remove the protective strip from the toner cartridge, shake it gently side to side, then slide it into place
Close all doors and power on the printer. Many printers will automatically run an ink priming cycle the first time — this is normal and may take 1–3 minutes.
Step 3: Load Paper Into the Tray
Pull out the paper tray and load a stack of paper (typically 20–25 sheets to start). Make sure the paper is aligned with the guides and not overfilled — there's usually a "MAX" fill line. Fan the paper before loading to reduce static and prevent multi-feeding. Push the tray back until it clicks.
Step 4: Connect the Printer
Option A: USB Connection
Connect the USB cable from the printer to your computer. Do NOT install software before connecting — modern operating systems (Windows 10, 11, and macOS) will detect the printer automatically and install basic drivers. Wait for the "Device Ready" notification before proceeding.
Option B: Wireless (WiFi) Connection
Using the printer's control panel or touchscreen, navigate to Settings → Network → Wireless Setup Wizard. Select your WiFi network from the list and enter your password. Once connected, the printer will display a WiFi icon or "Connected" message. Make sure your computer is on the same network.
Step 5: Install Printer Drivers on Your Computer
Even after physical connection, you may need to install full drivers for all features to work:
- Go to your printer manufacturer's official website (e.g., hp.com, epson.com, canon.com, brother.com)
- Navigate to "Support" → "Drivers & Downloads"
- Enter your printer model number (found on the front or bottom of the printer)
- Download the full feature software package for your operating system
- Run the installer and follow the on-screen instructions
On Windows, you can also go to Settings → Bluetooth & devices → Printers & scanners → Add a printer and Windows will search for your printer automatically.
Step 6: Print a Test Page
Once the drivers are installed, print a test page to confirm everything is working:
- Windows: Go to Settings → Printers & Scanners → click your printer → Manage → Print a test page
- macOS: System Settings → Printers & Scanners → select printer → Print Test Page
The test page will confirm your connection, ink levels, and print quality. If it prints correctly, your printer is fully set up!
Step 7: Set It as Default Printer
If you have multiple printers, set your new one as the default so you don't have to select it every time:
- Windows: Settings → Printers & Scanners → click printer → Set as default
- macOS: System Settings → Printers & Scanners → Default Printer → select your printer
Common First-Time Setup Problems
- Printer not detected: Try a different USB port, or restart both printer and computer
- Poor print quality: Run the alignment or head-cleaning utility from the printer software
- WiFi won't connect: Double-check your password and make sure you're connecting to 2.4GHz band (some printers don't support 5GHz)
- Driver won't install: Temporarily disable antivirus and try again, or download the basic driver only
Final Thoughts
Setting up a printer doesn't have to be a stressful experience. By following these steps carefully and taking your time, you'll have a fully functional printer in under 15 minutes. Keep your drivers up to date, store your printer in a dust-free environment, and print at least once a week to prevent ink from drying in the nozzles.